My Basket
Your cart is empty
Preparation
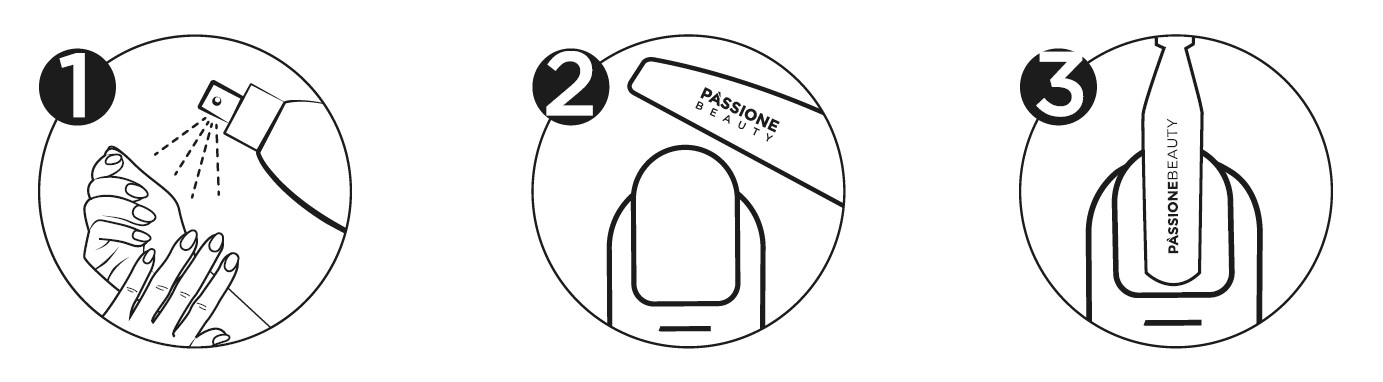
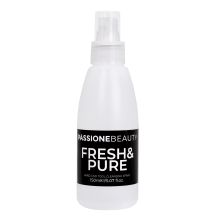
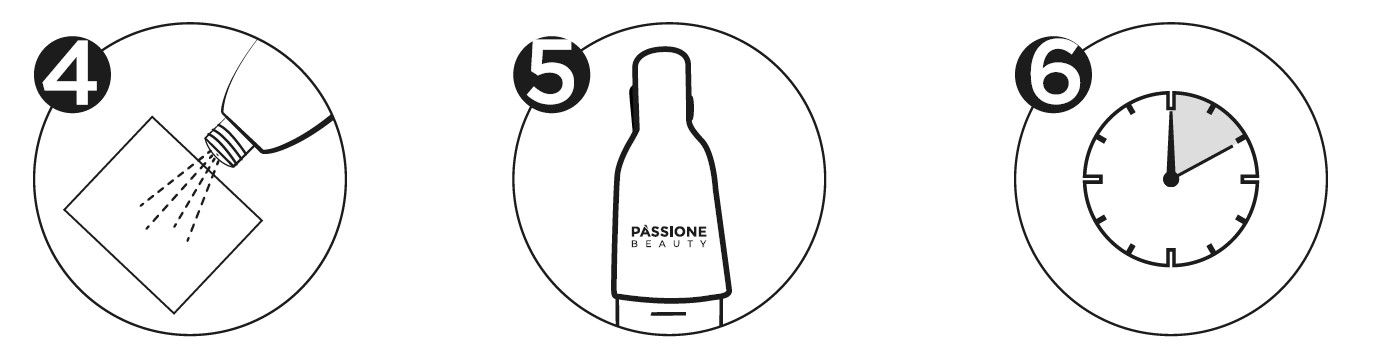
1. Spray Fresh & Pure onto hands and nails and allow to air dry.
2. Trim the free edge of the nail with a file.
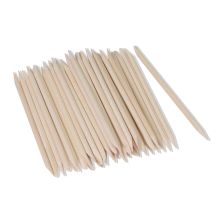
3. Gently push back the cuticles with the specially designed Orangewood Sticks or Cuticle Pusher.

4. Remove cuticles with nail scissors.
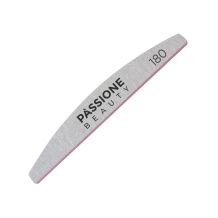
5. Buff the surface of the natural nail using the Preparation File Zebra Premium 180/240.
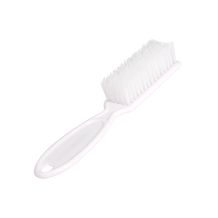
6. Use Nail Brush to remove all dust from the surface.
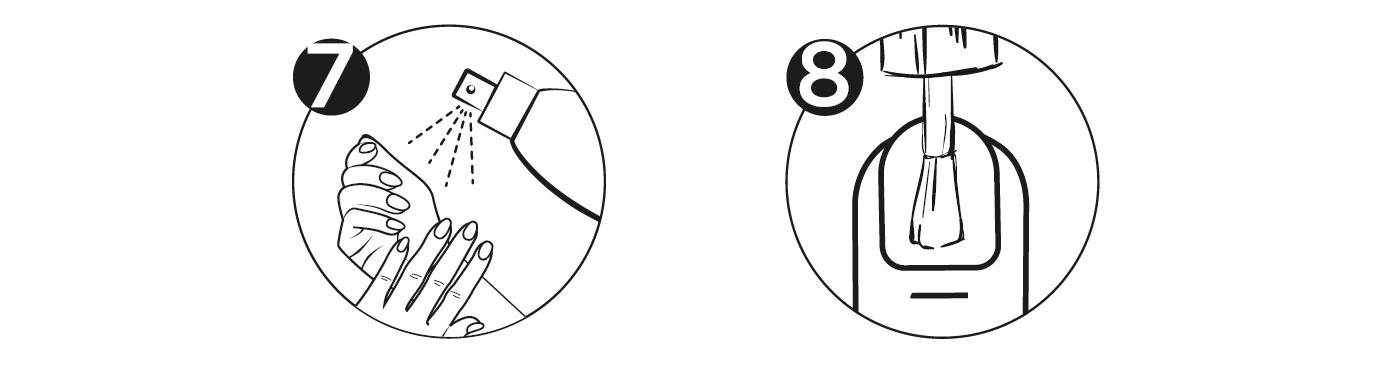
7. Spray Fresh & Pure.
8. Apply Nail Prep and then Binder to the entire natural nail surface and allow to air dry.
NOTE:
APPLY BINDER TO THE NATURAL NAIL ONLY, EVEN WHEN DOING REFILLS.
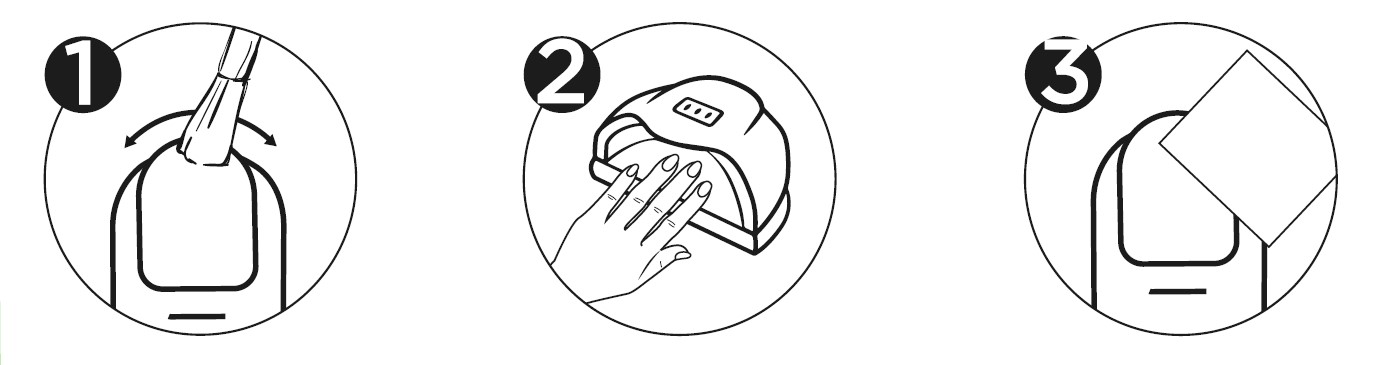
Applying a base coat
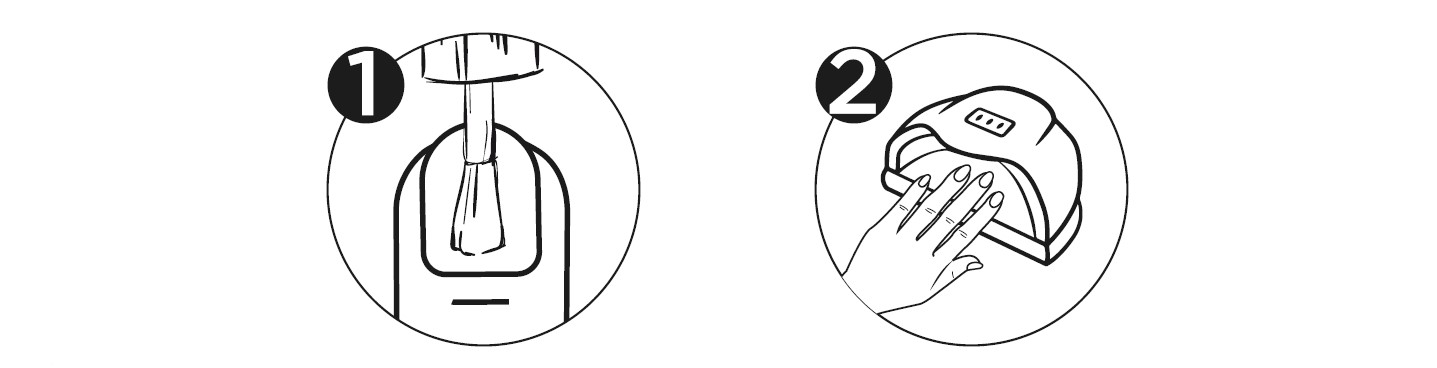
1. Spread an even layer of Base coat over the entire surface of the nail, taking care not to touch the cuticles.
2. Cure the product for 30 seconds under a UV/LED lamp or 120 seconds under a UV lamp.

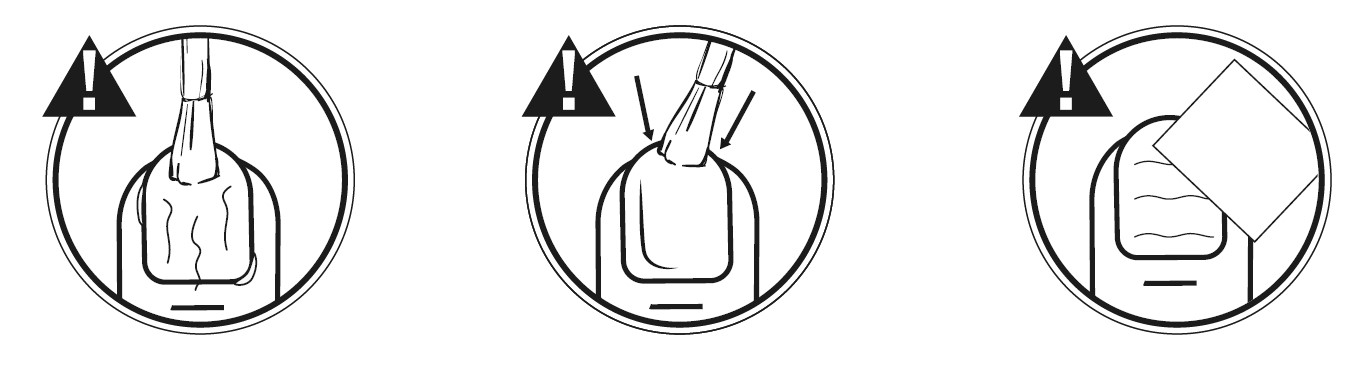
WHAT NOT TO DO
The tacky inhibition layer of the base coat should not be removed after curing.
Applying a coloured gel polish
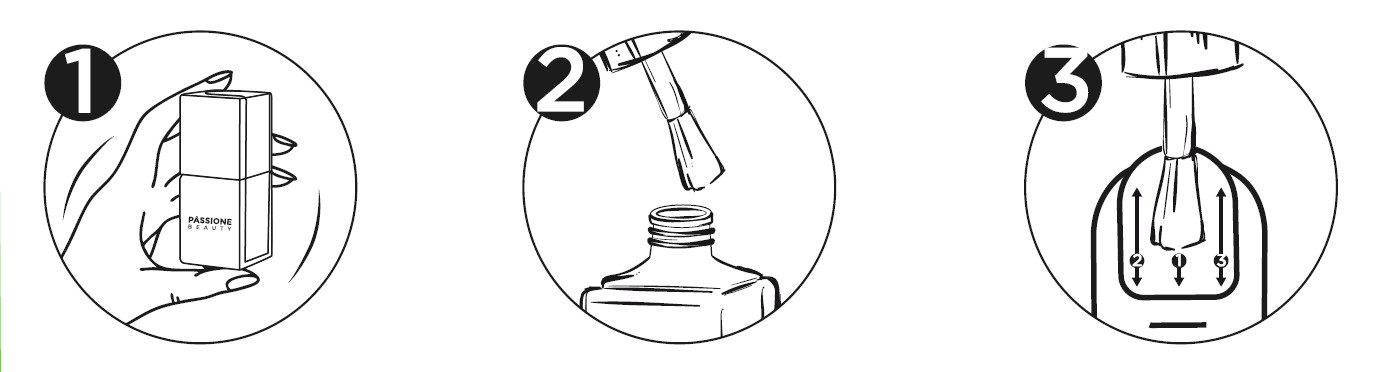
1. Shake the bottle.
2. Take a small amount of product onto the brush, letting any excess to drain back into the bottle.
3. Apply a thin layer of polish, starting from the centre of the nail and working outwards to the sides and from the cuticle towards the free edge. You may see some imperfections on your first coat, but simply turning the hand upside down for a few seconds before putting it under the lamp will allow the gel polish to even itself out.
4. Cure under a UV LED lamp for 30 seconds.
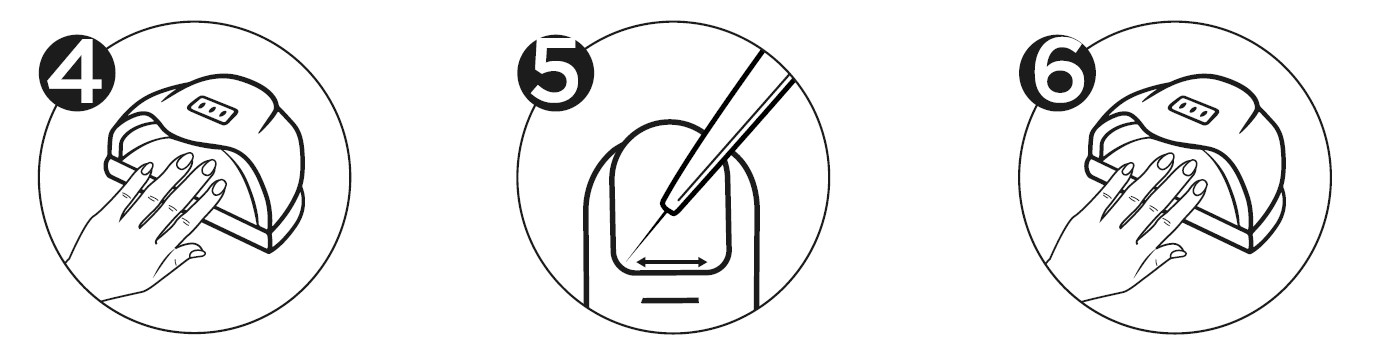
5. Apply a second thin layer of gel polish. Use Trendy Brush Super Fine to refine the application and be more precise around the cuticle area. This coat will achieve an evenly perfect coverage.
6. Cure under a UV LED lamp for 30/60 seconds, depending on the instructions on the label or on the product information.
WHAT NOT TO DO
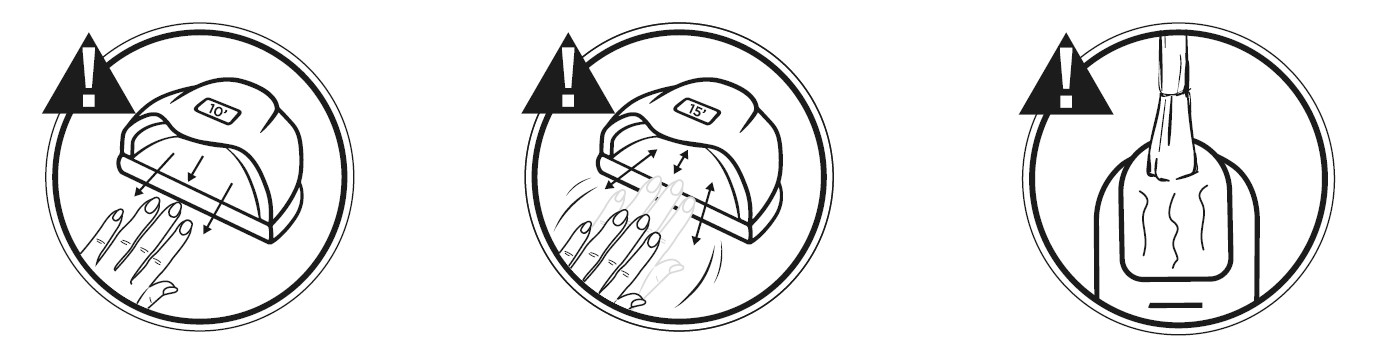
- Do not remove the hand from the lamp before the end of curing time.
- Do not move the hand 'in and out' of the lamp to set the gel polish.
- Do not apply too thick layers of gel polish as this can cause bubbling and unevenness on the surface.
Applying a topcoat
1. Apply a thin and even layer of Gloss, taking care to seal also the free edge of the nail.
2. Cure under a UV or UV/LED lamp for the time indicated on the label or on the product information.
3. Remove any inhibition layer if needed.
NOTE:
IF THE GEL POLISH OR THE BASE ONTO WHICH THE TOPCOAT IS APPLIED HAS A LOT OF TACKY LAYER, IT IS ADVISABLE TO REMOVE THE INHIBITION LAYER WITH CLEANER AND BUFF THE SURFACE OF THE NAIL.
WHAT NOT TO DO
- Do not apply too thick layers of top coat as it may dribble down onto the cuticle, with the possibility of creating liftings.
- Avoid applying the product too thinly and ensure that the free edge of the naif is always sealed too.
- lf applying a top coat with inhibition layer, always wait a few seconds before removing it.
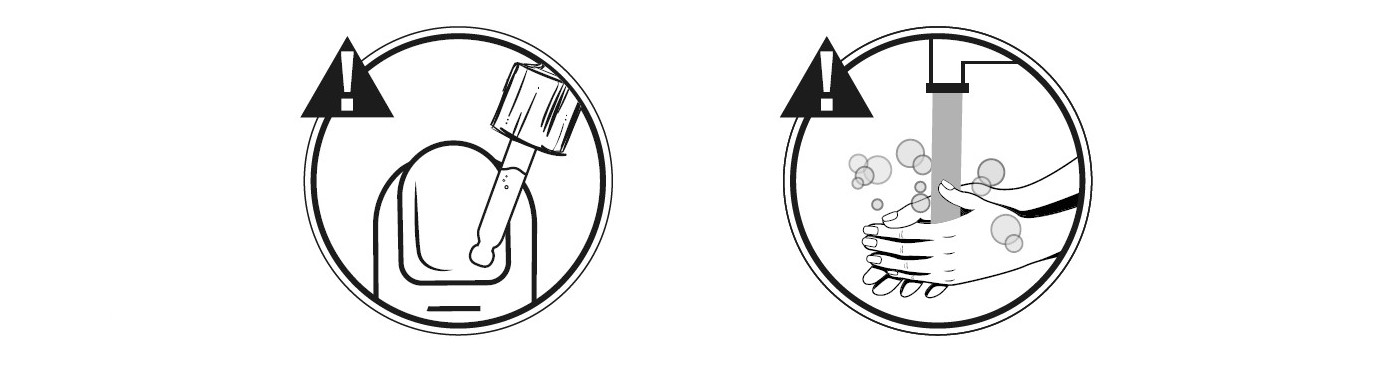
- lf app!ying a top coat without inhibition, wait at least 70 minutes before app!ying cuticle oil.
- When app!ying top coats without tacky layer we recommend having the client wash their hands before app!ying cuticle oil.
Soak Off
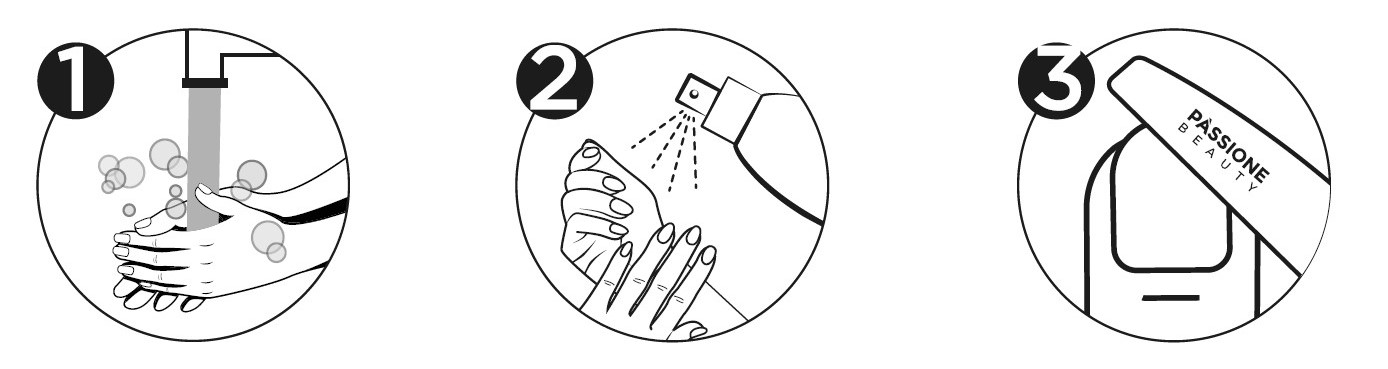
1. Wash hands.
2. Spray Fresh & Pure onto the hands and nails and allow to air dry.
3. Buff the surface of the nail: use Pink Halfmoon Buffer, White Buffer or a fine grit file such as the File Zebra Premium 100/180.
4. Place a pad soaked with plenty of Remover onto the nail.
5. Secure the pad with a Soak-Off Remover Clip.
6. Wait around ten minutes, until the product has softened.

7. Finally, remove any residue using an Orangewood Stick.
NOTE:
TIMINGS MAY VARY SLIGHTLY DEPENDING ON THE AMOUNT AND CHARACTERISTICS OF THE GEL POLISH APPLIED. DO NOT EXCEED 15 MINUTES OR THE PRODUCT MAY EVAPORATE.