Christmas nails
The most magical day of the year is finally here!
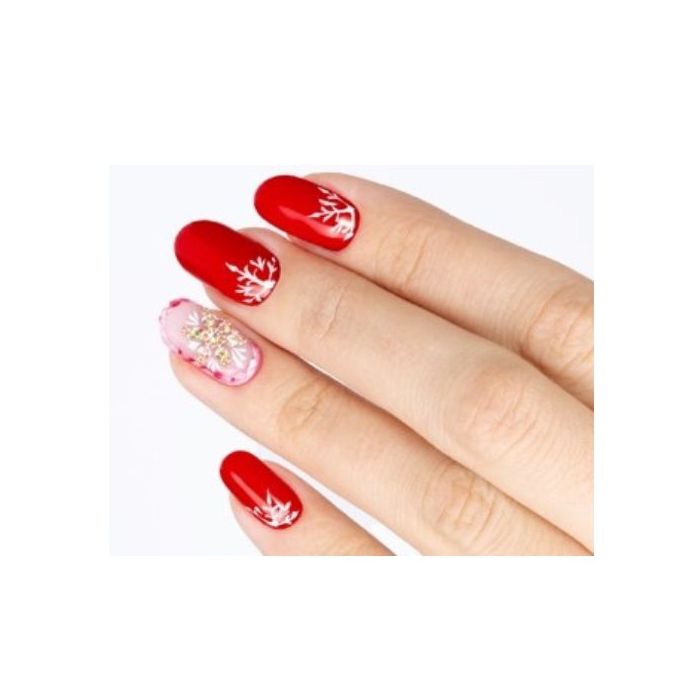
Celebrate in style with a red Christmas nail art, adorned with sparkling stones to create an elegant jeweled snowflake. Shine bright this Christmas Day!
Here’s how to create your perfect Christmas nail art: let’s walk through the steps together.
Want marbled effect nails?
Follow along as we show you the steps to achieve this stunning look!
1. Using the red gel polish SP460 Sensual, create small dots with the Trendy Double Point Spot brush.
2. Repeat the process using the White Painting Gel, then blend the polka dots with the Trendy Liner brush. Cure for 30 seconds.
3. Seal with Master Gloss finish and cure 60 seconds.
"4. Apply the glue gel and use an applicator pencil to place the Boreal Gems mix, creating the jeweled snowflake in the center of the nail. Cure for 60 seconds.
5. Finish the nail decoration using White Painting Gel to add the snowflake details. Cure for 30 seconds.
6. Apply two coats of SP460 Sensual gel polish to the remaining nails and cure for 30 seconds after each coat.
7. Remove the colour dispersion layer with a pad soaked in Cleaner, then mattify the surface with a buffer for optimal design results.
8. Create the snowflake design on the nail using White Painting Gel, then cure for 30 seconds.
9. Finally, seal with Master Gloss top coat and cure 60 seconds.
Have fun and experiment, always with Passione!
